Get Cozy with Snowflake Window Decorations
When the winter chill sets in, there's something magical about gazing out of a frost-kissed window. And what better way to make your view even more enchanting than by adorning it with delicate snowflake window decorations? These intricate ornaments instantly infuse your space with a cozy and whimsical vibe. As the sun streams through, casting a mesmerizing play of light and shadows, you'll find yourself transported to a winter wonderland, filling you with a sense of excitement and wonder. So take out your crafting supplies, unleash your creativity, and let your imagination soar as you embark on this delightful DIY project. The possibilities are endless – from simple paper cut-outs to elegant snowflakes made from beads or lace, the choice is yours to create a truly unique display that will leave everyone in awe.
Handcrafting snowflake window decorations also provides a perfect opportunity to gather your loved ones and make lasting memories. Imagine spending an afternoon with friends or family, huddled around a warm fireplace, cutting out intricate patterns and sharing laughter. The joy of creating something beautiful together is unmatched, and these decorations will serve as a reminder of the cherished moments you shared. Plus, they can be easily customized to match your personal style and existing decor. Whether you prefer a classic all-white winter wonderland or opt for vibrant pops of color, these snowflake window decorations will add a touch of magic and warmth to any space. Get ready to welcome the winter season with open arms and cozy up your home in the most whimsical and inviting way possible.
- Delicate snowflake window decorations instantly infuse your space with a cozy and whimsical vibe.
- The sun streaming through creates a mesmerizing play of light and shadows, transporting you to a winter wonderland.
- Crafting supplies allow for endless possibilities – from simple paper cut-outs to elegant snowflakes made from beads or lace.
- Handcrafting these decorations provides an opportunity to make lasting memories with loved ones.
- Gather around a warm fireplace, cutting out intricate patterns and sharing laughter.
- These decorations can be easily customized to match your personal style and existing decor.
- Whether you prefer a classic all-white winter wonderland or vibrant pops of color, these snowflake window decorations will add magic and warmth to any space.
Spark Imagination with DIY Snow Globes
Bring a touch of whimsy and wonder into your home this winter with DIY snow globes! These delightful and imaginative creations spark pure joy and excitement in both children and adults alike. With just a few simple materials and a sprinkle of creativity, you can transform an ordinary Mason jar into a magical scene straight out of a snow-covered dreamscape.
Imagine gazing into your very own snow globe and being transported to a world of enchantment. Inside the jar, tiny figurines stand amidst a shower of glittering snowflakes, as if frozen in time. The possibilities are endless when it comes to the scenes you can create – from cozy cabins nestled in the woods to bustling city streets adorned with holiday magic. There's something truly special about crafting your own snow globe, as it allows you to infuse your personal touch and create a piece of art that reflects your imagination. Get ready to dive into a world of limitless possibilities and let your creativity run wild!
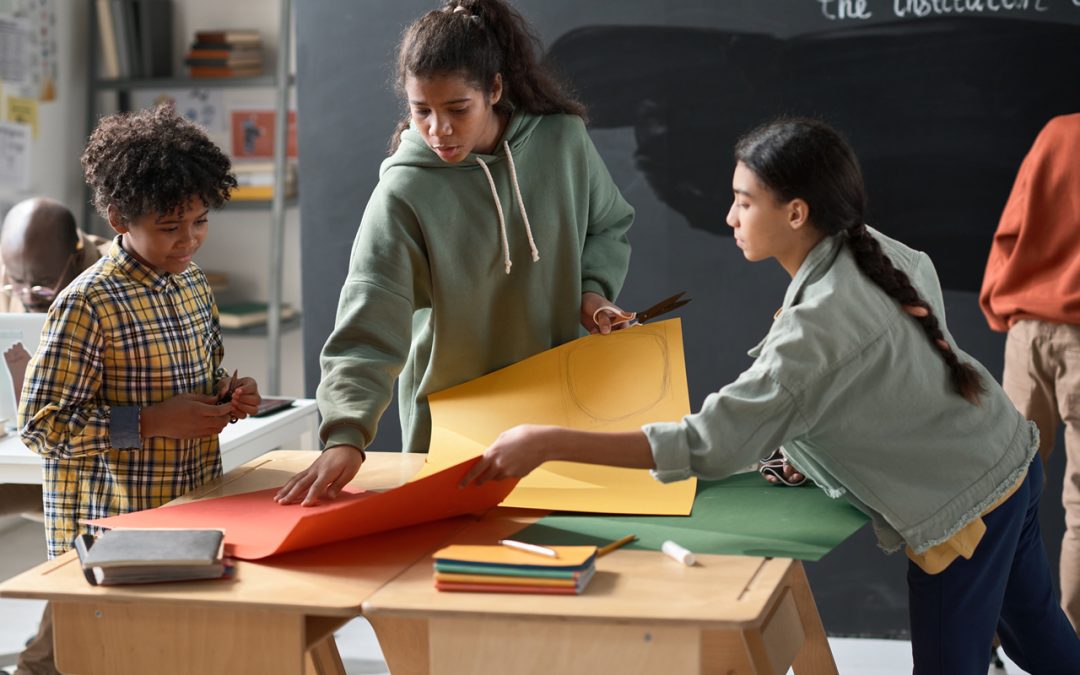
Embrace the Winter Vibes with Handmade Paper Snowflakes
There's something magical about the delicate beauty of handmade paper snowflakes. The intricate designs, carefully cut out from a single sheet of paper, can transform any space into a winter wonderland. As I sit here with scissors in hand, ready to create my own snowflake masterpiece, I can't help but feel a sense of excitement building up inside me. The possibilities are endless – I can make them big or small, intricate or simple, and hang them from the windows or string them together to create a mesmerizing garland. Embracing the winter vibes with handmade paper snowflakes is more than just a craft project – it's a way to bring the enchantment of a snowy winter day into your home.
Create a Winter Wonderland with Recycled Cardboard Tube Snowmen
The holiday season is all about creating a winter wonderland, and what better way to do that than with recycled cardboard tube snowmen? These adorable little figurines are not only eco-friendly, but they also bring a touch of whimsy and charm to any space. With just a few supplies and a whole lot of creativity, you can transform these simple tubes into a magical winter scene that will captivate both young and old alike.
To get started, gather a collection of cardboard tubes in various sizes. Don't worry if they're a little beaten up or imperfect – that just adds to the rustic charm! Then, grab some white paint and let your imagination run wild. Use a brush or even your fingers to apply the paint, giving each tube a frosty, snow-covered look. Once they're dry, it's time to bring your snowmen to life! Add googly eyes, a carrot-shaped nose, and a big smile made out of brightly colored craft foam. You can also dress them up with scarves made from old fabric scraps or tiny hats fashioned out of felt. The possibilities are endless!
Let the Magic Begin with DIY Ice Lanterns
Transform your winter nights into a mesmerizing wonderland with the enchanting glow of DIY ice lanterns. These ethereal creations are not only incredibly beautiful but also surprisingly simple to make. All you need is some water, a few basic supplies, and a touch of imagination.
To begin, start by gathering a variety of containers in different shapes and sizes. From empty milk cartons to silicone molds, the possibilities are endless! Fill them up with water, making sure to leave some space at the top. Now comes the exciting part – adding a personal touch! Drop in some flower petals, cranberries, or even a sprinkle of glitter for a magical touch. Pop the containers into the freezer and patiently wait for the water to freeze solid. Once fully frozen, remove the container and watch as the ice lantern effortlessly slides out. Place a small votive candle or LED light inside, and voila! Get ready to be dazzled as your surroundings are illuminated with the soft, flickering glow of your very own DIY ice lanterns.
Customize Your Winter Accessories with DIY Felt Mittens
With the arrival of winter, it's time to bundle up and embrace all things cozy and warm. And what better way to customize your winter accessories than with DIY felt mittens? These adorable handcrafted creations are not only practical but also a fun and creative way to express your personal style.
Imagine the joy of slipping your hands into a pair of mittens that you made yourself! From choosing the colors of felt to adding unique embellishments like buttons or embroidery, the options for customization are endless. Whether you prefer a bold and vibrant look or a more subtle and elegant design, DIY felt mittens allow you to create a one-of-a-kind accessory that reflects your individuality. So why not get crafty, unleash your creativity, and make a pair of cozy felt mittens that are truly one in a million?
Make Memories with Salt Dough Ornaments
The holiday season is all about creating cherished memories with loved ones, and what better way to celebrate than by making salt dough ornaments together? These delightful decorations are not only simple to create, but they also add a personal touch to your holiday decor. Mix together some flour, salt, and water to form a pliable dough, and then let your imagination run wild as you shape it into beautiful ornaments. Whether you choose to make classic shapes like stars and hearts, or get creative with personalized designs, the process itself becomes a delightful memory that you'll always cherish.
Once your salt dough ornaments are shaped and ready, it's time to let them dry and harden. This stage brings with it a sense of anticipation, as you eagerly wait to see the final outcome of your artistic endeavors. When the ornaments are fully dried and hardened, you can further personalize them by painting and decorating them with vibrant colors and glitter. The joy on your loved ones' faces as they hang these homemade treasures on the Christmas tree is truly priceless, and the memories created from this simple activity will warm your heart for years to come.
Have Fun Indoors with DIY Snowball Toss Game
With winter in full swing, there's no better time to bring the fun indoors with a DIY Snowball Toss Game. Get ready to unleash your inner competitor and have a blast with this entertaining activity. This game is perfect for all ages and will keep everyone entertained for hours on end.
To get started, gather some soft, lightweight balls and designate a tossing area. It could be a hallway, a spacious room, or even the garage. The objective is simple – aim to throw the snowballs through a hula hoop or a large bucket. The distance can be adjusted to suit your space and level of challenge. As you take turns tossing the “snowballs,” the excitement will build, with cheers and laughter filling the room. Get ready to experience the joy and thrill of a snowball fight without ever stepping foot outside.

Get Crafty with DIY Penguin Finger Puppets
Crafting your very own DIY penguin finger puppets is a fun and imaginative activity that will surely bring joy to both children and adults alike. These adorable little puppets can be made with just a few simple materials, making them perfect for a crafty afternoon indoors.
To start, gather some black and white felt, googly eyes, and a hot glue gun. Cut out a penguin body shape from the black felt and a smaller oval for the belly from the white felt. Glue the white oval onto the black body and attach the googly eyes above. Don't forget to cut out a small orange triangle for the beak and glue it below the eyes. Once everything is dry, slip your fingers through the back of the puppet and let the storytelling and playtime begin! These DIY penguin finger puppets are not only a delight to make, but they also provide endless entertainment for hours on end.
Warm Hearts with Homemade Hot Chocolate Mix
Nothing warms the heart quite like a steaming cup of homemade hot chocolate on a chilly winter day. With just a few simple ingredients and a dash of creativity, you can create a delightful treat that will bring joy and comfort to those around you. Imagine the rich, velvety chocolate melting on your tongue, the comforting aroma that fills the air, and the smiles that light up the faces of your loved ones as they take that first sip. It's the perfect way to spread some warmth and cheer during the colder months.
The best part is that making homemade hot chocolate mix is incredibly easy and customizable. You can experiment with different types of chocolate, add a pinch of cinnamon for a festive twist, or even include marshmallows or crushed candy canes for extra indulgence. Whether you're enjoying a cozy night in with your family or hosting a winter gathering with friends, this simple yet oh-so-delicious treat is sure to be a crowd-pleaser. So, grab your favorite mug, whip up a batch of homemade hot chocolate mix, and let the warmth and joy fill your hearts this winter season.
How do I make homemade hot chocolate mix?
Making homemade hot chocolate mix is easy! Simply combine cocoa powder, powdered sugar, and powdered milk in a bowl. Mix well and store in an airtight container. When you're ready to enjoy a cup of hot chocolate, just add hot milk and stir until well combined.
Can I customize my homemade hot chocolate mix?
Absolutely! You can add a variety of ingredients to customize your homemade hot chocolate mix. Try adding a dash of cinnamon or nutmeg for a warm and cozy flavor. You can also include mini marshmallows or crushed peppermint candies for an extra special touch.
How long can I store homemade hot chocolate mix?
Homemade hot chocolate mix can be stored in an airtight container for up to 3 months. Just make sure to keep it in a cool, dry place away from direct sunlight.
Can I make a large batch of homemade hot chocolate mix and give it as gifts?
Definitely! Making a large batch of homemade hot chocolate mix is a great idea for gifts. Simply divide the mix into smaller containers or mason jars and add a festive ribbon or tag. It's a thoughtful and delicious present that everyone will love.
Can I use non-dairy milk for my homemade hot chocolate?
Absolutely! You can use any type of milk you prefer for your homemade hot chocolate. Whether it's dairy milk, almond milk, soy milk, or any other milk alternative, the hot chocolate mix will still taste delicious.
Can I make a vegan version of homemade hot chocolate mix?
Yes, you can make a vegan version of homemade hot chocolate mix. Just make sure to use non-dairy milk powder and check that the cocoa powder and powdered sugar are also vegan-friendly.
Can I adjust the sweetness of my homemade hot chocolate mix?
Of course! If you prefer a sweeter hot chocolate, you can add more powdered sugar to the mix. If you prefer it less sweet, you can reduce the amount of powdered sugar or use a sugar substitute. Feel free to adjust the sweetness to your taste preferences.
Can I add flavors like vanilla or caramel to my homemade hot chocolate mix?
Absolutely! You can add a few drops of vanilla extract or caramel syrup to your hot chocolate mix for added flavor. Just make sure to mix it well with the other ingredients before storing.
Can I make a dairy-free version of homemade hot chocolate mix?
Yes, you can make a dairy-free version of homemade hot chocolate mix by using powdered non-dairy milk. Just follow the same instructions and replace the powdered milk with a non-dairy alternative.
Can I use dark chocolate instead of cocoa powder in my homemade hot chocolate mix?
Yes, you can use dark chocolate instead of cocoa powder in your homemade hot chocolate mix. Simply melt the dark chocolate and mix it with the other dry ingredients. Just keep in mind that the flavor and sweetness may be slightly different than using cocoa powder.